Appearance
本文以演示环境如下:
| 操作系统 | 系统类型 | 作者 |
|---|---|---|
| Windows 10 | x64 | 张世平 |
安装软件下载
jdk-19下载地址:jdk-19.exe
elasticsearch-8.13.2下载地址:elasticsearch-8.13.2.zip
安装jdk-19
①由于ES是Java语言开发的,所以这里需要先安装Java环境
②双击 jdk-19_windows-x64_bin.exe ,然后一直点击 “下一步” 按钮,直到安装完毕,默认的安装路径是 C:\Program Files\Java\jdk-19\,安装在默认路径即可。
③配置Java环境变量,打开文件夹,右击 “我的电脑” ——点击 “属性” ——点击 “高级系统设置”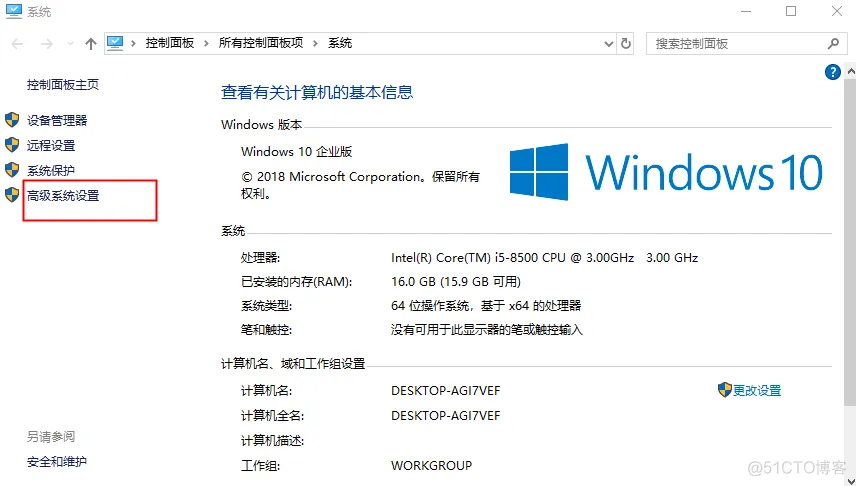 ④在新窗口的 “高级” 选项卡中,点击 “环境变量” ,再点击【系统变量(S)】里的 “新建” 按钮,弹出新窗口如下图所示
变量名填入:
JAVA_HOME变量值填入安装的路径:
C:\Program Files\Java\jdk-19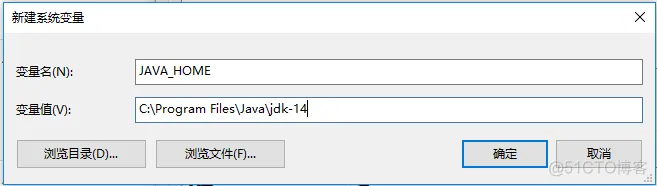
⑤然后在【系统变量(S)】中,选中Path 这个变量,点击 “编辑” 按钮,打开编辑窗口,再点击 “新建” 按钮,输入 %JAVA_HOME%\bin 如下图所示
%JAVA_HOME%\bin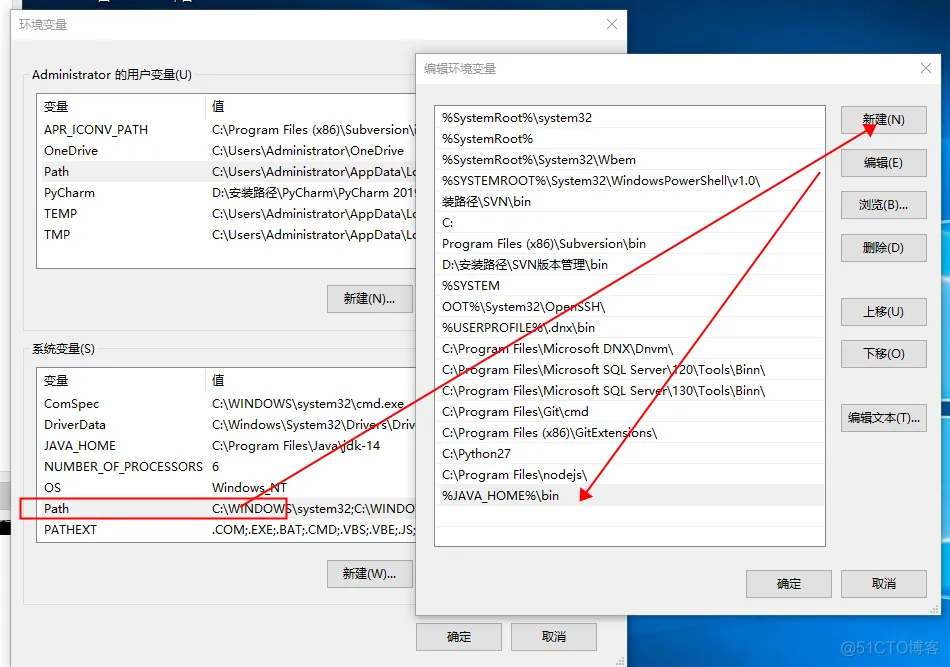
验证jdk是否安装成功
以管理员形式打开 cmd 窗口,输入命令
java -version查看是否安装成功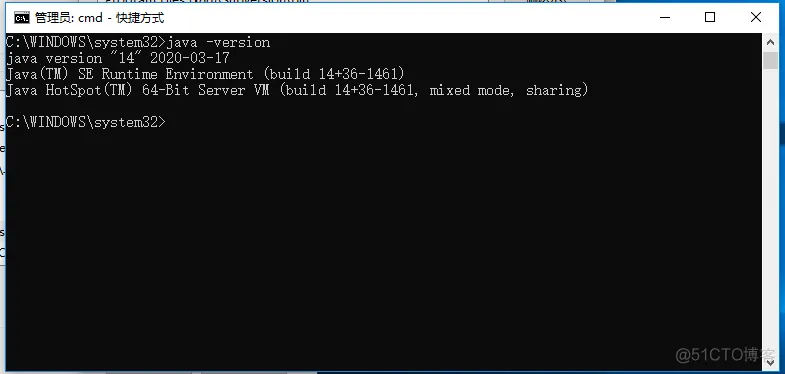
安装 Elasticsearch
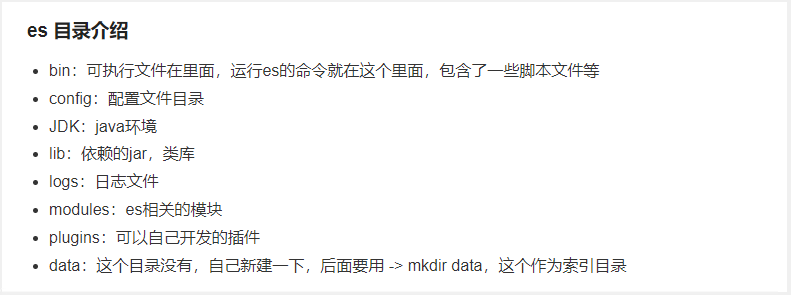
先把elasticsearch-8.13.2-windows-x86_64.zip压缩包,复制到C盘根目录,解压到当前文件夹 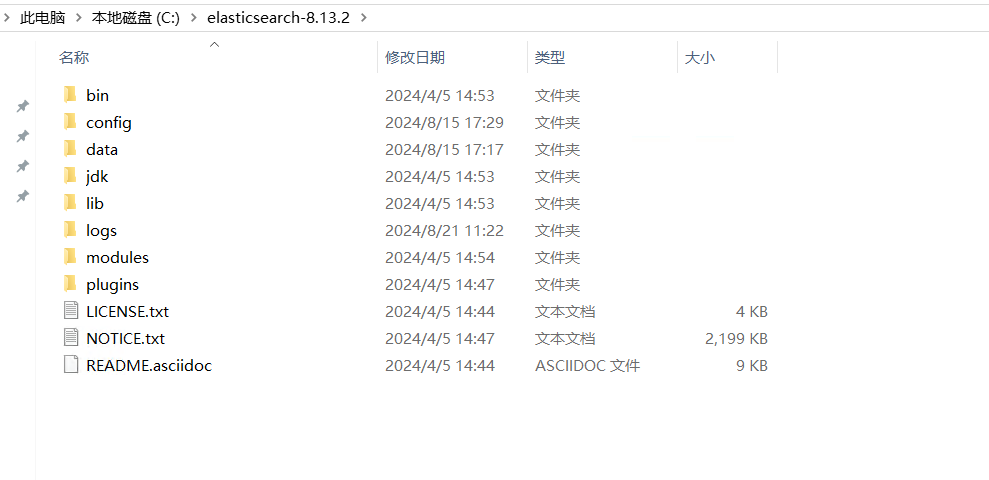
修改Elasticsearch配置文件
进入到C:\elasticsearch-8.13.2\config文件夹中,用记事本打开elasticsearch.yml文件
注意此处可直接复制以下内容,粘贴覆盖替换原有的内容,如有疑问,可备份原有的elasticsearch.yml文件,在粘贴替换;
# ======================== Elasticsearch Configuration =========================
#
# NOTE: Elasticsearch comes with reasonable defaults for most settings.
#       Before you set out to tweak and tune the configuration, make sure you
#       understand what are you trying to accomplish and the consequences.
#
# The primary way of configuring a node is via this file. This template lists
# the most important settings you may want to configure for a production cluster.
#
# Please consult the documentation for further information on configuration options:
# https://www.elastic.co/guide/en/elasticsearch/reference/index.html
#
# ---------------------------------- Cluster -----------------------------------
#
# Use a descriptive name for your cluster:
#
cluster.name: my-application
#
# ------------------------------------ Node ------------------------------------
#
# Use a descriptive name for the node:
#
node.name: node-1
#
# Add custom attributes to the node:
#
#node.attr.rack: r1
#
# ----------------------------------- Paths ------------------------------------
#
# Path to directory where to store the data (separate multiple locations by comma):
#
path.data: /opt/elasticsearch-8.13.2/data
#
# Path to log files:
#
path.logs: C:\elasticsearch-8.13.2\logs
#
# ----------------------------------- Memory -----------------------------------
#
# Lock the memory on startup:
#
#bootstrap.memory_lock: true
#
# Make sure that the heap size is set to about half the memory available
# on the system and that the owner of the process is allowed to use this
# limit.
#
# Elasticsearch performs poorly when the system is swapping the memory.
#
# ---------------------------------- Network -----------------------------------
#
# By default Elasticsearch is only accessible on localhost. Set a different
# address here to expose this node on the network:
#
network.host: 127.0.0.1
#
# By default Elasticsearch listens for HTTP traffic on the first free port it
# finds starting at 9200. Set a specific HTTP port here:
#
http.port: 9200
#
# For more information, consult the network module documentation.
#
# --------------------------------- Discovery ----------------------------------
#
# Pass an initial list of hosts to perform discovery when this node is started:
# The default list of hosts is ["127.0.0.1", "[::1]"]
#
#discovery.seed_hosts: ["host1", "host2"]
#
# Bootstrap the cluster using an initial set of master-eligible nodes:
#
cluster.initial_master_nodes: ["node-1"]
#
# For more information, consult the discovery and cluster formation module documentation.
#
# ---------------------------------- Various -----------------------------------
#
# Allow wildcard deletion of indices:
#
#action.destructive_requires_name: false
#----------------------- BEGIN SECURITY AUTO CONFIGURATION -----------------------
#
# The following settings, TLS certificates, and keys have been automatically
# generated to configure Elasticsearch security features on 20-05-2024 07:00:37
#
# --------------------------------------------------------------------------------

# Enable security features
xpack.security.enabled: false

xpack.security.enrollment.enabled: true

xpack.security.http.ssl.enabled: false
xpack.security.transport.ssl.enabled: false

#----------------------- END SECURITY AUTO CONFIGURATION -------------------------

http.cors.enabled: true
http.cors.allow-origin: "*"
修改jvm.options文件,限制ES内存占用大小
进入到C:\elasticsearch-8.13.2\config文件夹下,用记事本打开jvm.options文件,修改-Xms4g配置项,如下图:
-Xms10g
-Xmx10g
设置开机自启
①打开命令提示符(cmd)或PowerShell,以管理员身份运行。
②进入到Elasticsearch的bin目录。
cd C:\elasticsearch-8.13.2\bin③运行以下命令安装Elasticsearch作为Windows服务:
.\elasticsearch-service.bat install④打开’控制面板‘-’管理工具‘-’服务‘,找到服务’Elasticsearch 8.13.2 (elasticsearch-service-x64)‘,双击打开,启动类型,选择’自动‘,然后点’启动‘,等一分钟。 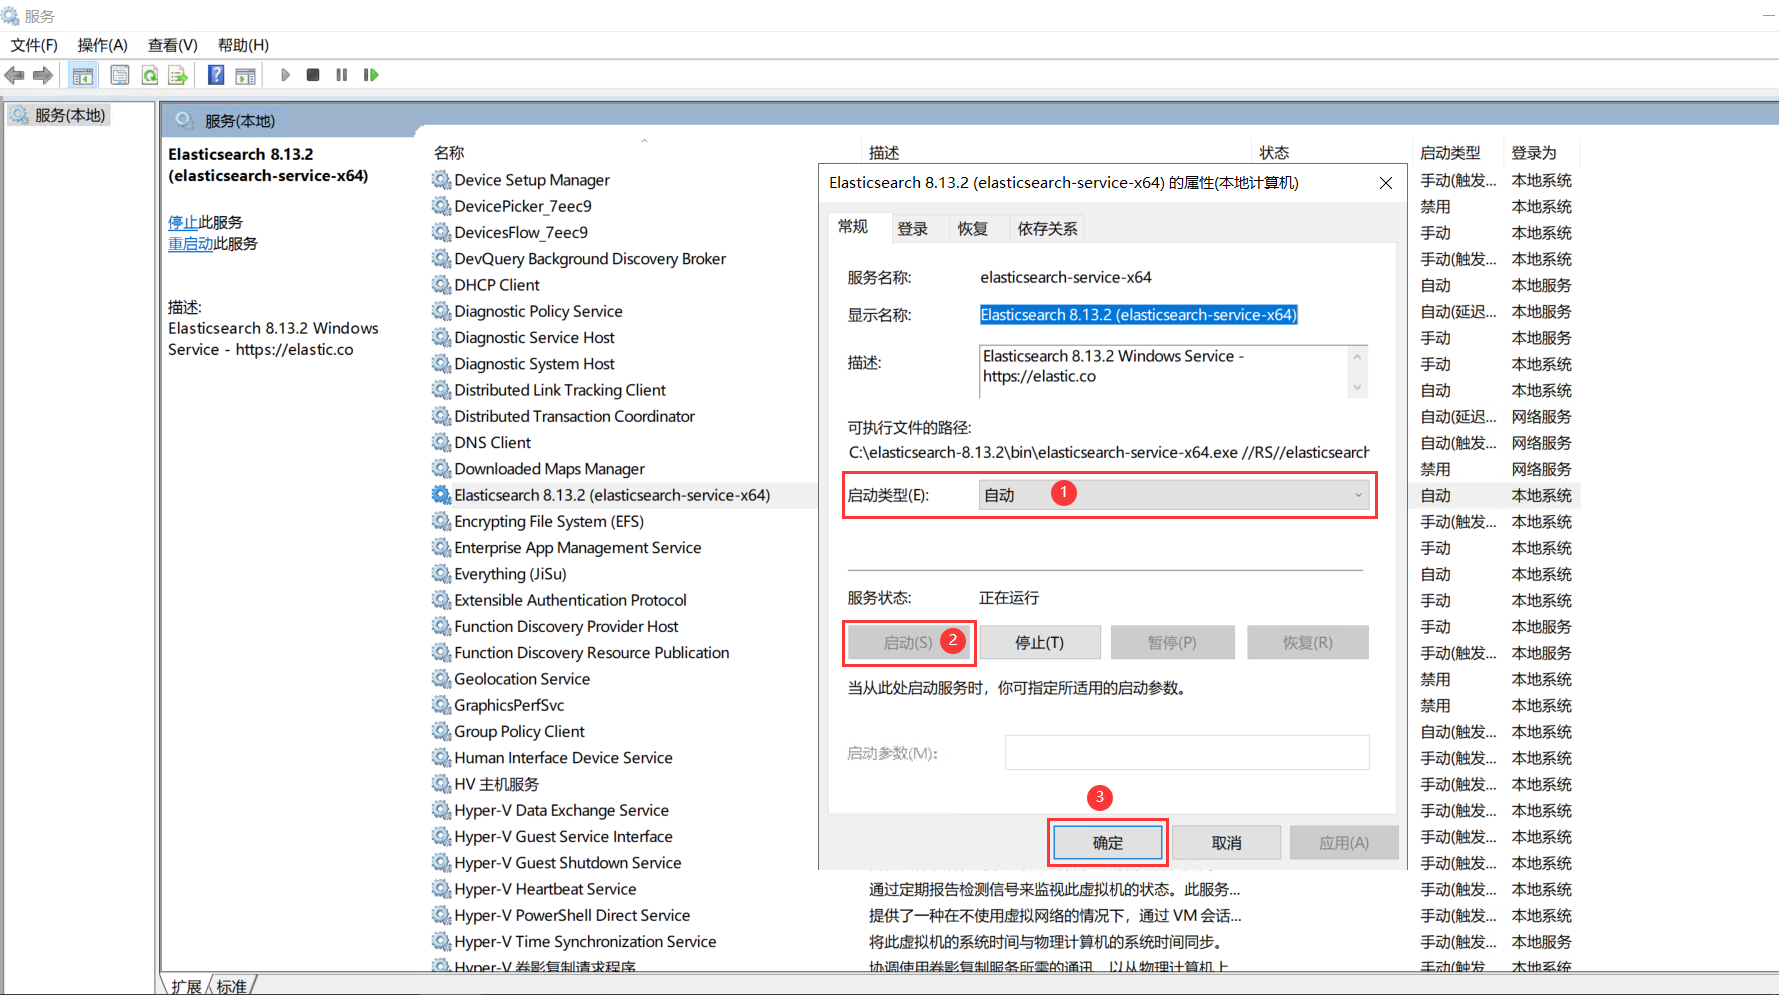
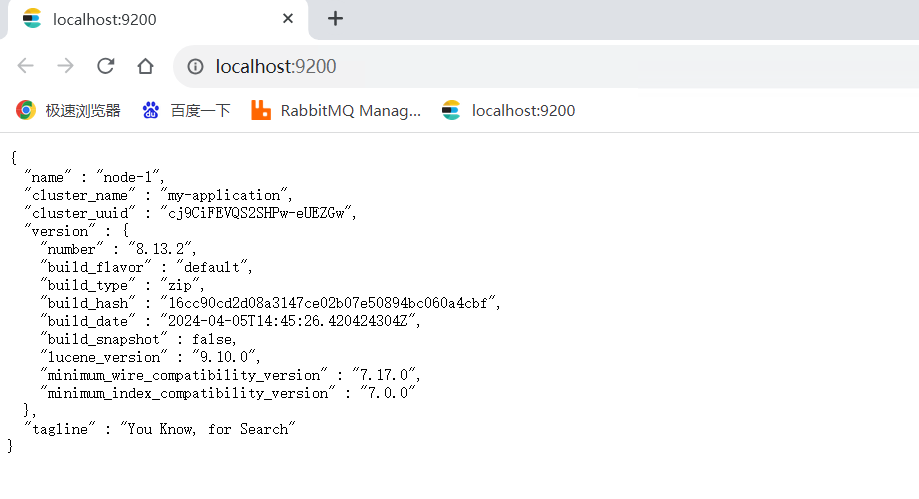
验证elasticsearch是否启动
打开浏览器,输入:http://localhost:9200,如果正常访问,说明Elasticsearch部署成功;